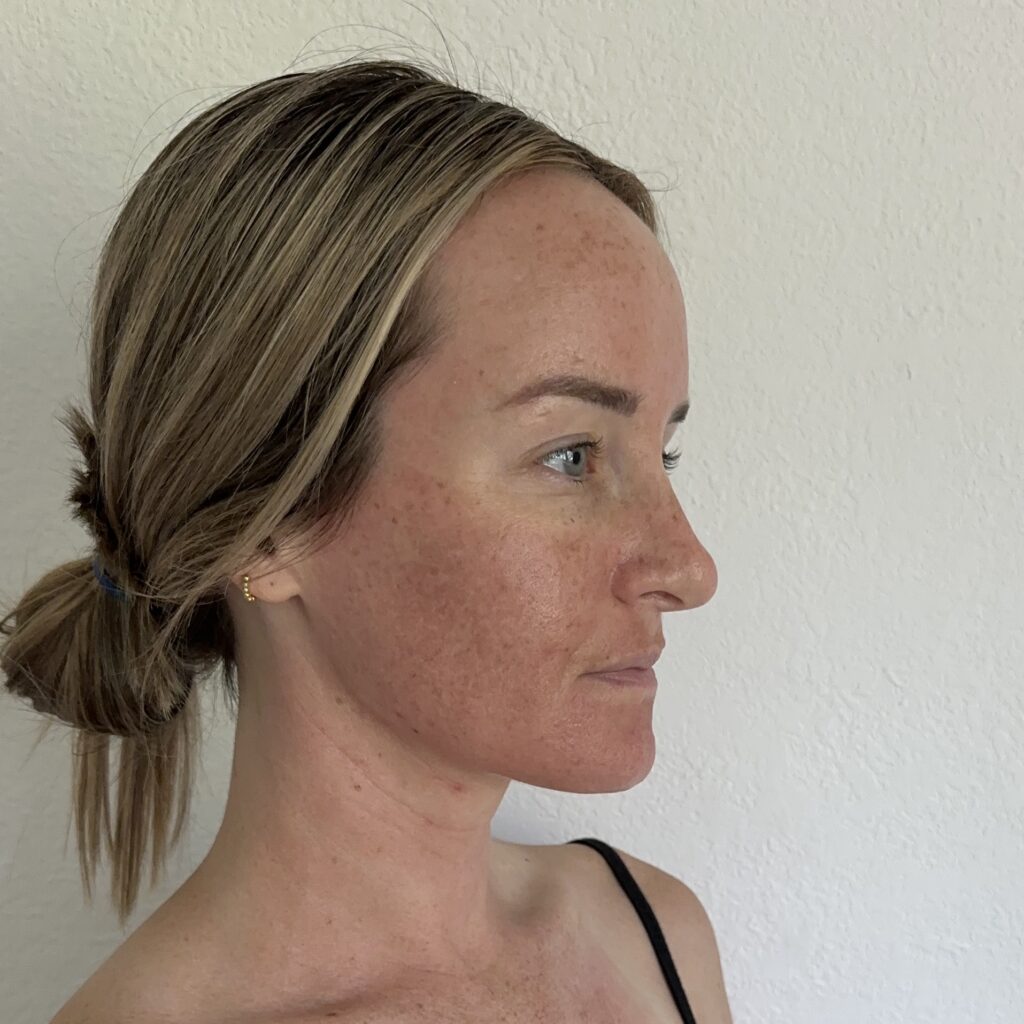
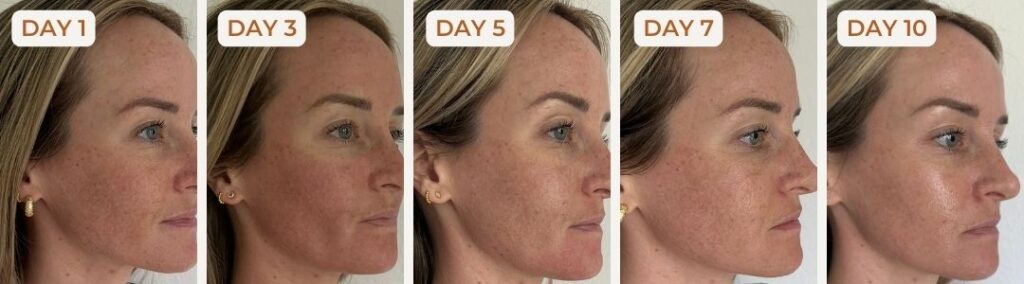
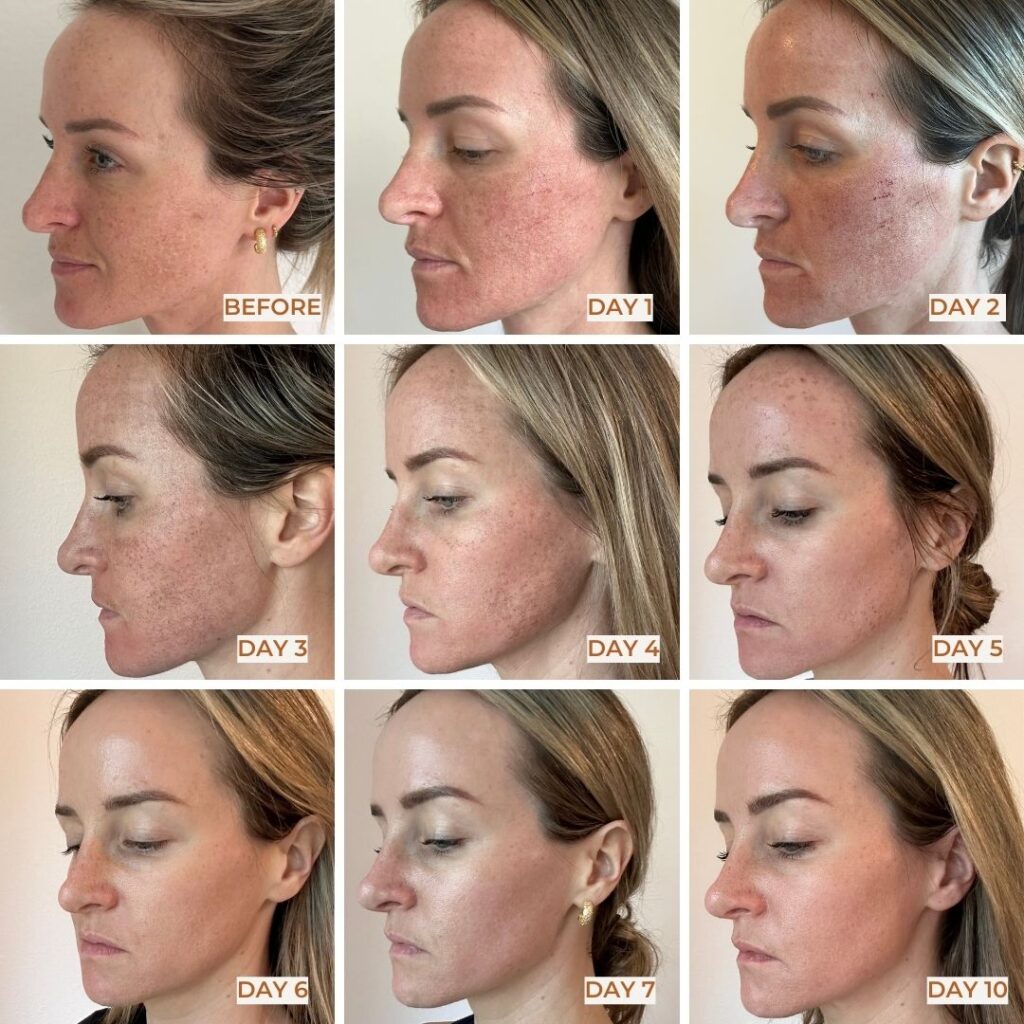
I think you probably know my answer by now. 😉 Yes, it costs several thousand dollars to do all three rounds of treatments. And the treatment itself is a bit uncomfortable. The down time is about 1 week each time when you have to avoid the sun and your skin looks kind of crazy.
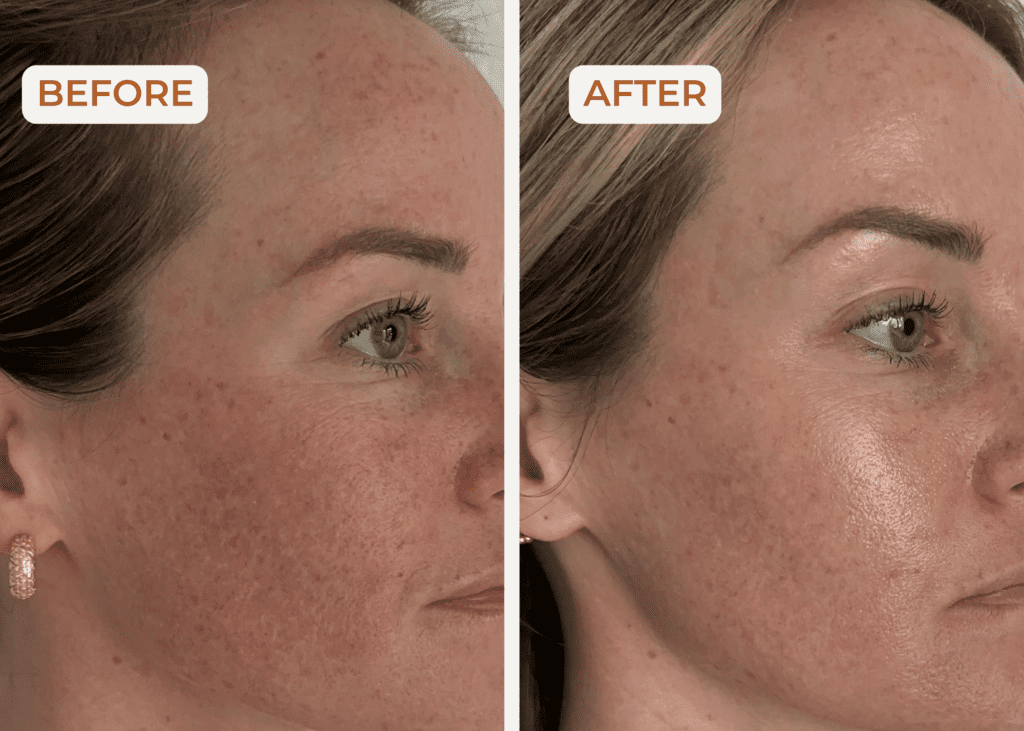
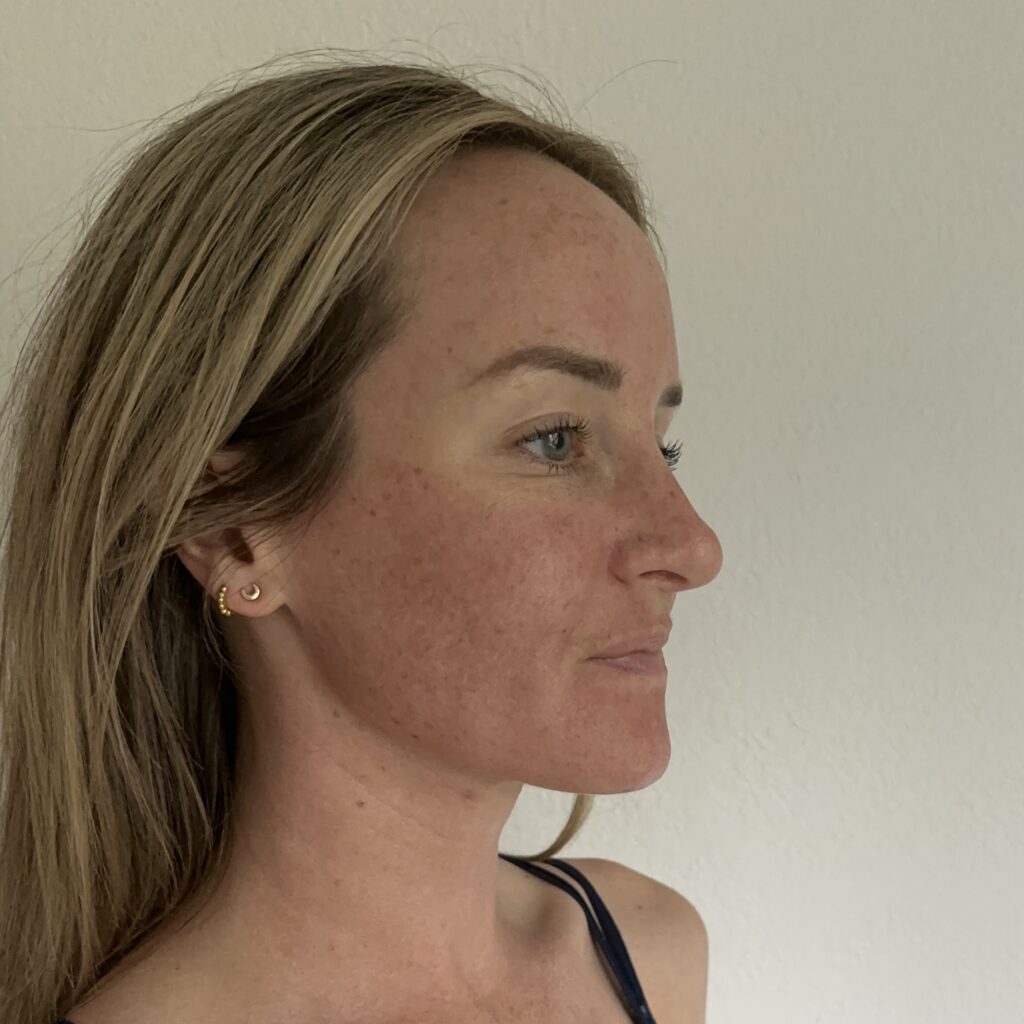
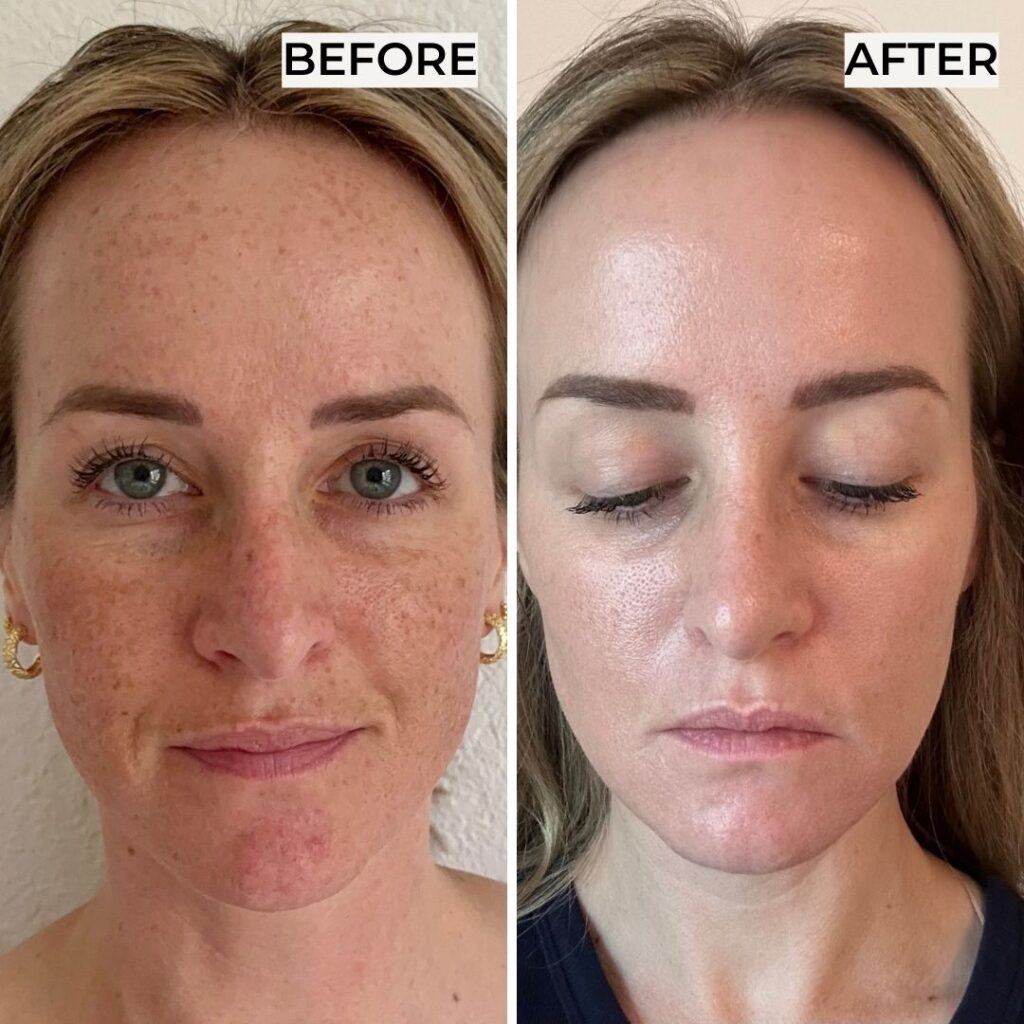
And YES. It’s all worth it! The results are that good!!
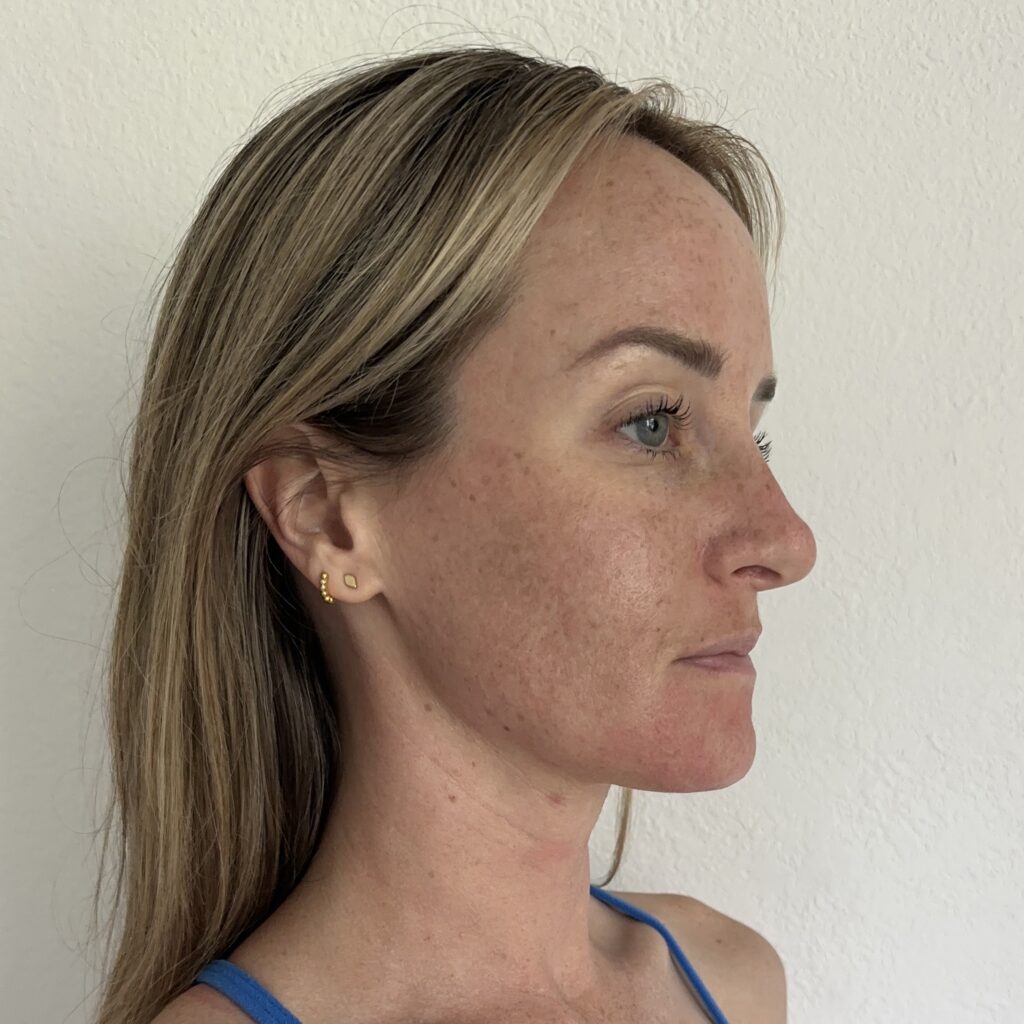
I already mentioned this, but I’ll say it again: if you’re in the Austin area, take advantage of that complimentary consultation at Viva. I was initially thinking of doing some sort of IPL treatment, and I found out through my consultation that IPL (also called photo facial) could actually make my melasma worse!
And finally, as with any beauty treatments, remember: it’s whatever makes you feel best. There are a whole bunch of outside opinions saying how we should look. The ultimate truth is however you want to look and feel.
My mantra with all vanity/beauty treatments is this: the answer is always yes – I’ll say yes to any flaws and blemishes and extra “personality” on my body, or say yes to taking steps to change them. But either way, I’ll say yes instead of fighting. (< I’m pretty sure I got that from Shonda Rhimes “Year of Yes” book that I read a long time ago, fyi!)
Ok friends, I hope that was helpful to read! Lmk of any other questions!


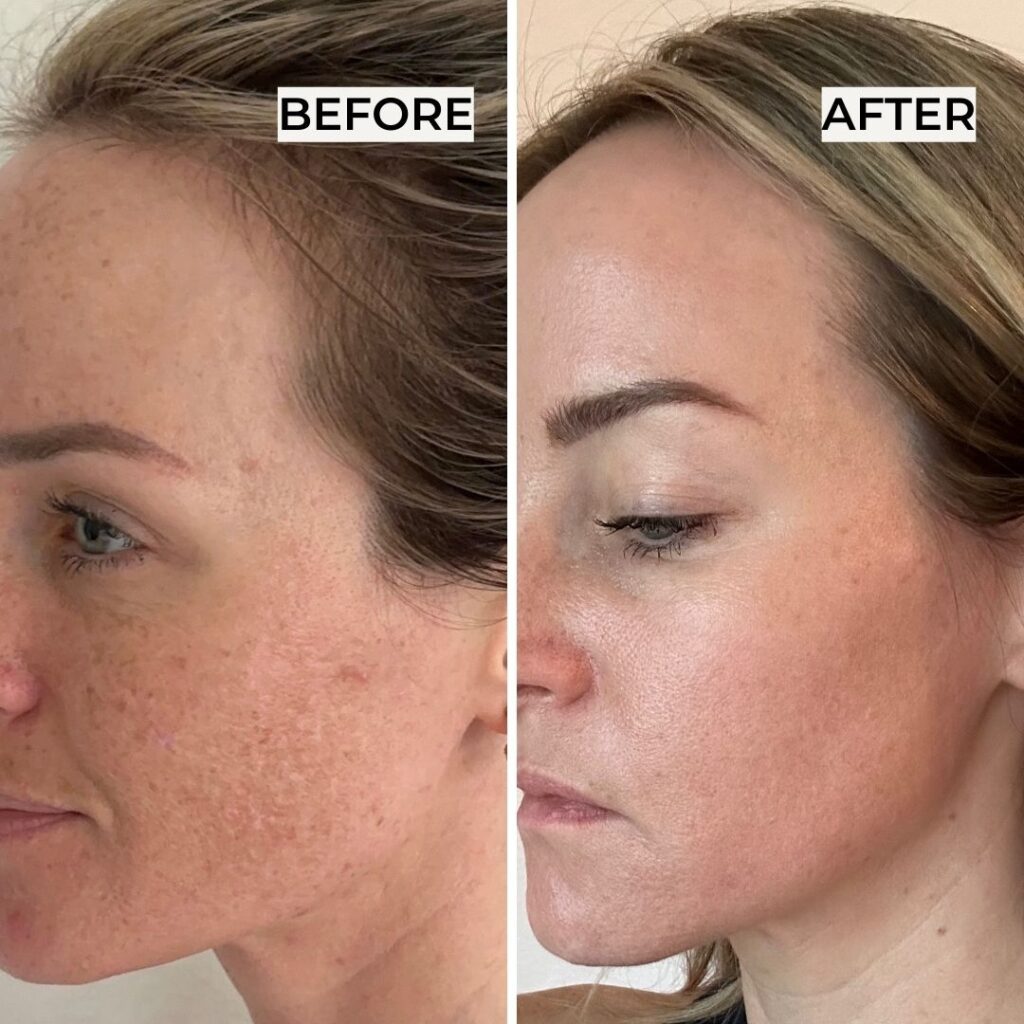
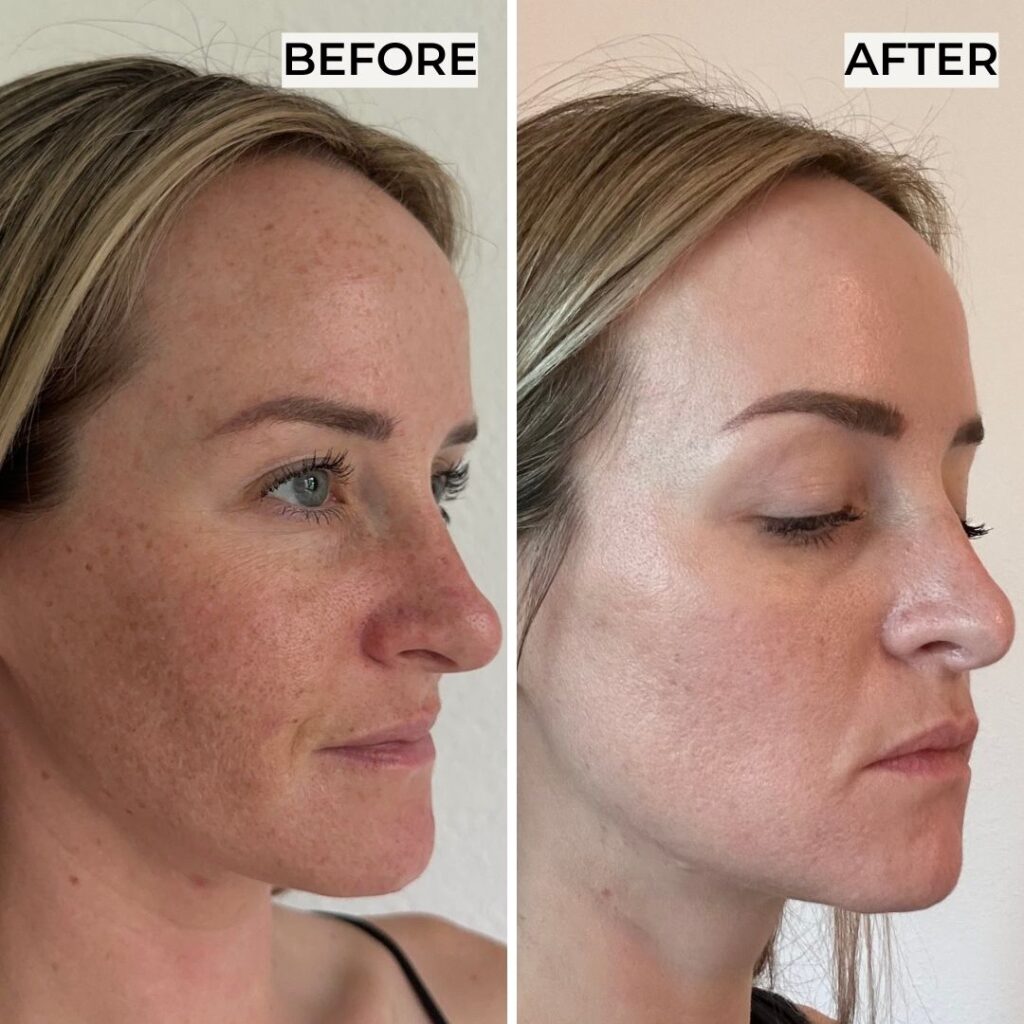
I have an appointment to get this done end of this month. I have been wanting to get it done for awhile. My question is…did you notice a difference with fine lines or was it just the pigmentation?? I need help with both lines and pigementation.
WHAT WAS THE OTHER CHOICE THAT WAS PRESENTED TO YOU?
AND TANK YOU SO MUCH FOR THE GREAT INFORMATIVE PRESENTATION!
Thanks. I was wondering what the recovery was like.
I wanted to point out that under the consultation, in one place you said melanoma instead of melasma.